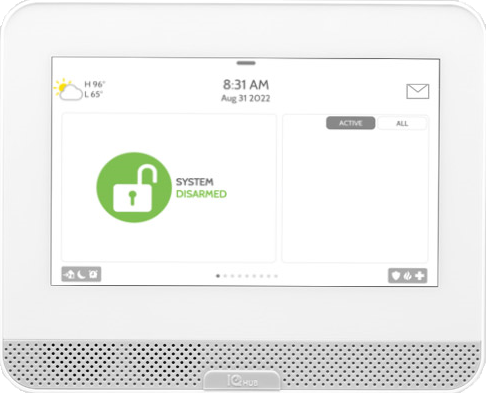
Qolsys IQ4 Hub Panel Guide

Specifications

  • • Screen: 7 inch LCD touchscreen
  • • Battery: 24-hour lithium polymer backup battery pre-installed
  • • Z-Wave Plus (800 series)
  • • 128 wireless zones
  • • LTE and Wi-Fi dual path communication built-in
  • • Single SRF (choose from PowerG, 319.5, 345, or 433)
  • • 3 microphones with echo cancellation

IQ4 Hub (No LED, 3 Mic, No Cam)


Features

  • • Intuitive swipe/scroll/touch-based user interface
  • • Supports up to 128 devices
  • • View live doorbell and camera video streams on-screen
  • • Bluetooth disarming that lets you leave your phone in your pocket when you arrive home
  • • The panel turns into a customizable photo frame when not in use
  • • Control Z-Wave 800 lights, locks, thermostats, and garage openers
  • • Easy installation with smart mount, install wizard, and on-screen diagnostics

User Functions

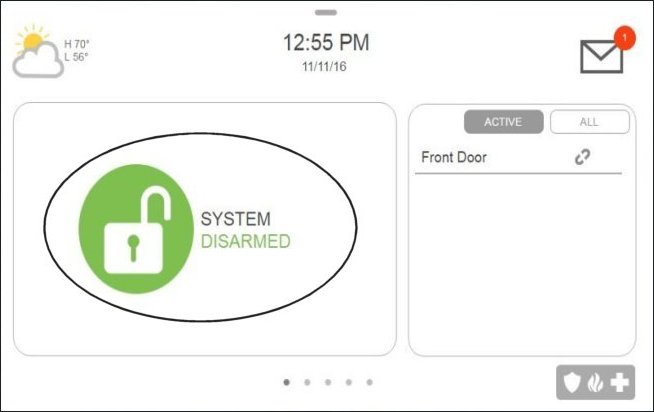
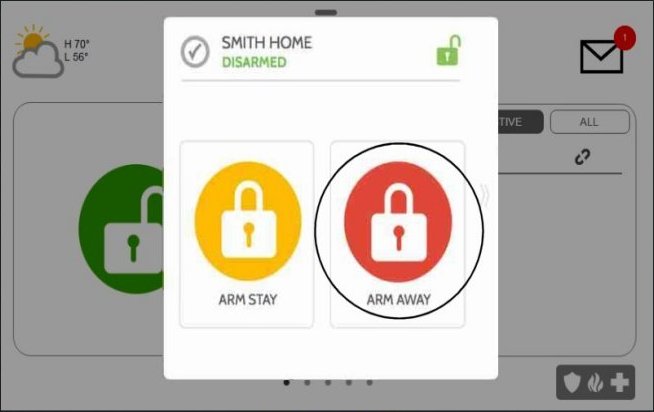
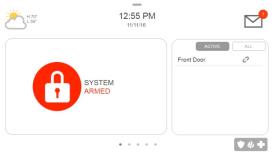
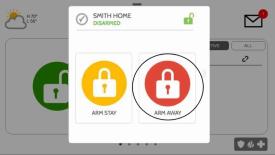
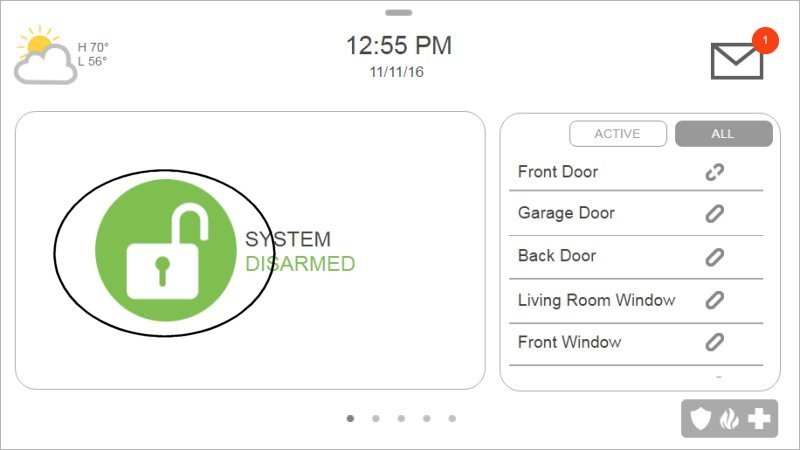
Arm Away: arm away is used when you plan on arming the system and leaving the home.

  1. Press Lock, then press Arm Away.
  2. Arm_01.jpg Arm_Away_01.jpg


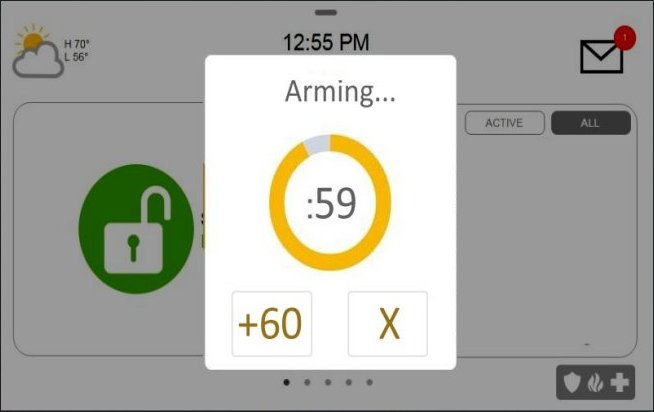
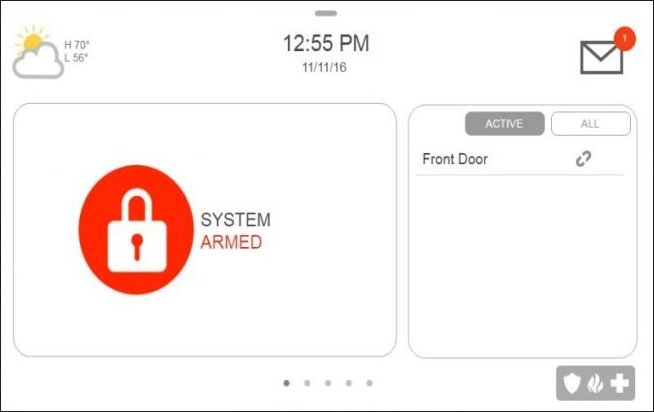
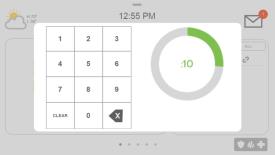
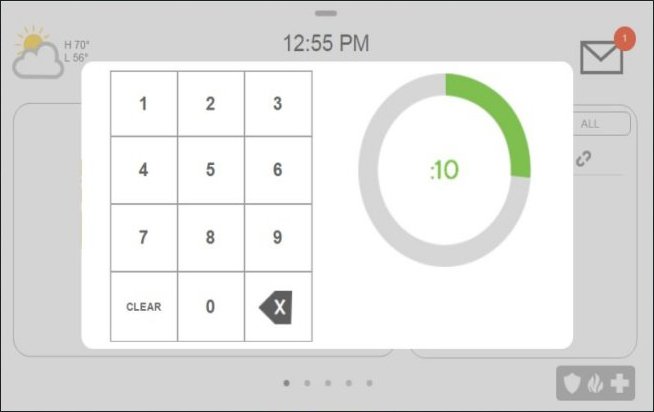
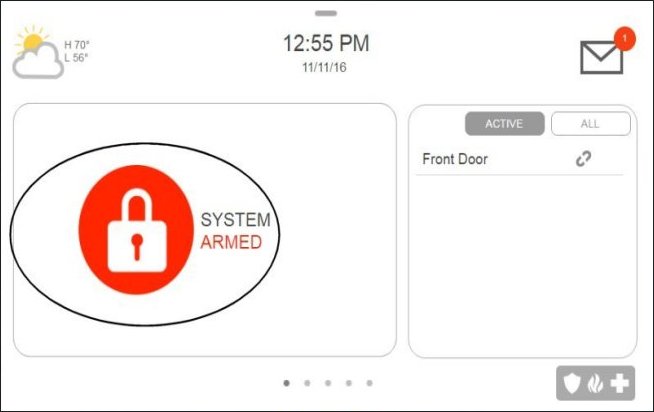
  3. The IQ4 Hub displays an exit delay timer while arming.
  4. Arming_Timer.jpg Armed_Away.jpg


Arm Instant: arms all perimeter sensors without entry delay and bypasses interior motion detectors.

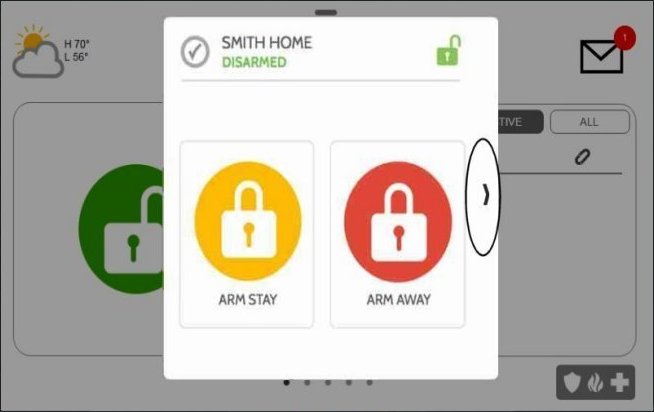
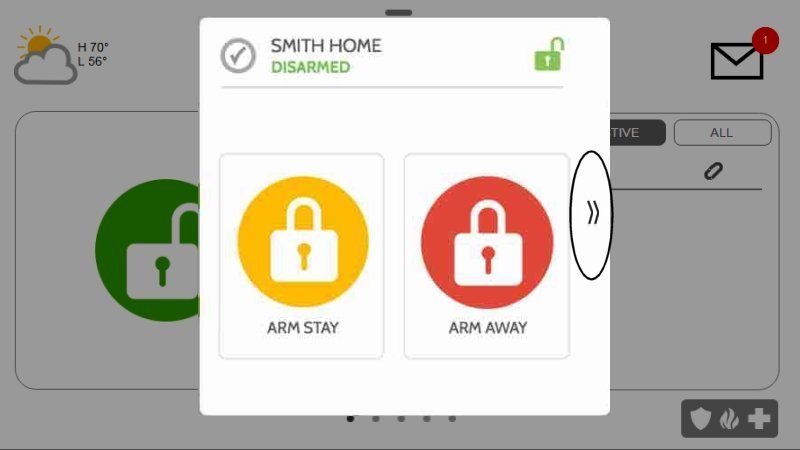
  1. From a disarmed state, press Arm (the lock icon), then press the right side arrow.
  2. Arm_01.jpg Arm_Instant_01.jpg


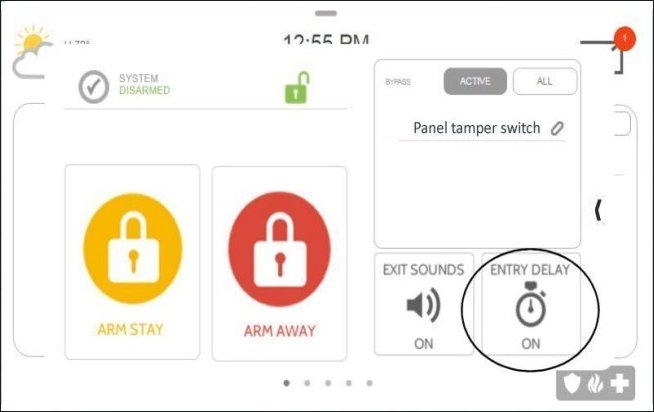
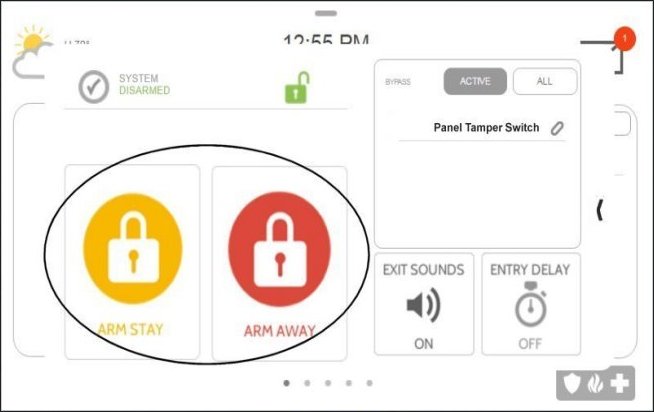
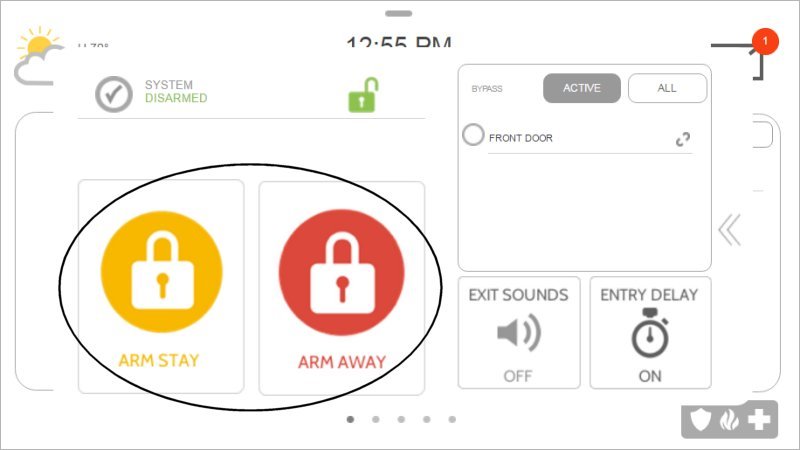
  3. Press Entry Delay to toggle the entry delay Off, then press Arm Stay or Arm Away
  4. Arm_Instant_02_Main.jpg Arm_Instant_03.jpg


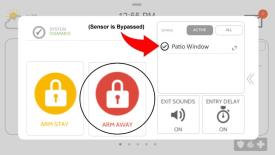
Force Arm Away: force arm away is a way to proceed with arming while ignoring any warnings about open sensors which omits zones not ready to be armed and bypasses those sensors.

  1. From a disarmed state, press Arm (the lock icon). Note that open sensors will be displayed on the right.
  2. 1.1a_Force_Arm_01_275x155.jpg


  3. Proceed by selecting Arm Away.
  4. 1.2a_Force_Arm_02_Away_275x155.jpg


  5. The system will begin the process of arming while any open sensors are automatically bypassed.
  6. 1.3a_Armed_Away_Active_Zones_275x155.jpg


Arm Partition Away: partitions can be used to segment parts of your alarm system so that they operate separately from the rest of your system. This allows you to create areas with restricted access that can only be disarmed with an assigned code for that area or the master code. Arm partition away will arm the interior and perimeter sensors for the chosen segmented area.

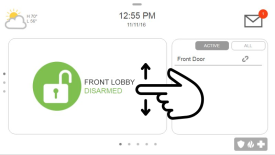
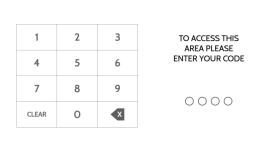
  1. Enter your user code at the lock screen.
  2. 2.1a_Partition_01_275x155.png


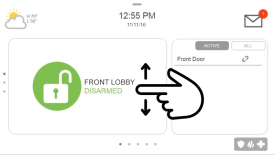
  3. Swipe up or down to access different partitions.
  4. 2.2a_Partition_Select_01_275x155.png


  5. Press the lock icon, then press Arm Away.
  6. 2.3a_Arm_Away_01_275x155.jpg


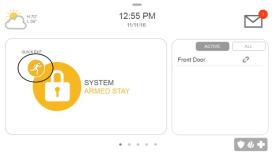
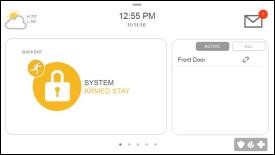
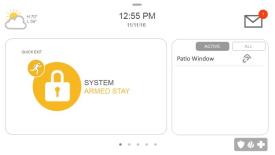
Arm Stay Quick Exit: this allows you to set your system to arm away from an arm stay status without first disarming.

  1. Press Quick Exit (the runner icon top left of the yellow lock) while your system is in an armed stay status.
  2. 4.1a_Quick_Exit_01_275x155.jpg


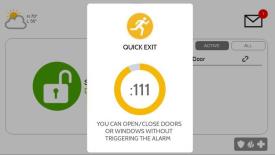
  3. A 120-second default exit delay will begin to allow leaving without disarming.
  4. 4.2a_Quick_Exit_02_275x155.jpg


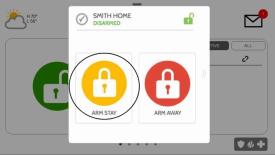
Arm Stay: arm stay is used when you plan on arming the system staying home.

  1. Press Lock, then press Arm Stay.
  2. Arm_01.jpg QSArm Stay 01 275x155


  3. The IQ4 Hub displays Armed Stay.
  4. QSArm Stay 02 275x155


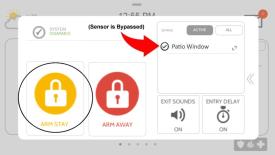
Force Arm Stay: force arm stay is a way to proceed with arming while ignoring any warnings about open sensors which omits zones not ready to be armed and bypasses those sensors.

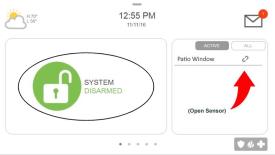
  1. Press Arm (the lock icon). Note that open sensors will be displayed on the right.
  2. 3.1a_Force_Arm_01_275x155.jpg


  3. Proceed by selecting Arm Stay, which will arm all closed or ready exterior sensors.
  4. 3.2a_Force_Arm_02_Stay_275x155.jpg


  5. The system will automatically bypass any open or not ready sensors and will be armed in arm stay mode.
  6. 3.3a_Force_Arm_03_275x155.jpg


Disarm Partition:  disarms any area or zone separately from the rest of the structure that was set up as a partition.

  1. Enter your user code the lock screen, then swipe up or down to access the partition.
  2. 5.1a_Partition_01_275x155.png 5.2a_Partition_Select_01_275x155.png


  3. Press Arm (the lock icon), then enter the user code that is authorized to disarm that partition.
  4. 5.3a_Disarm_02_Enter_Code_275x155.jpg


Silent Arm: useful for arming your system without disturbing other occupants, such as when leaving early in the morning before others wake.

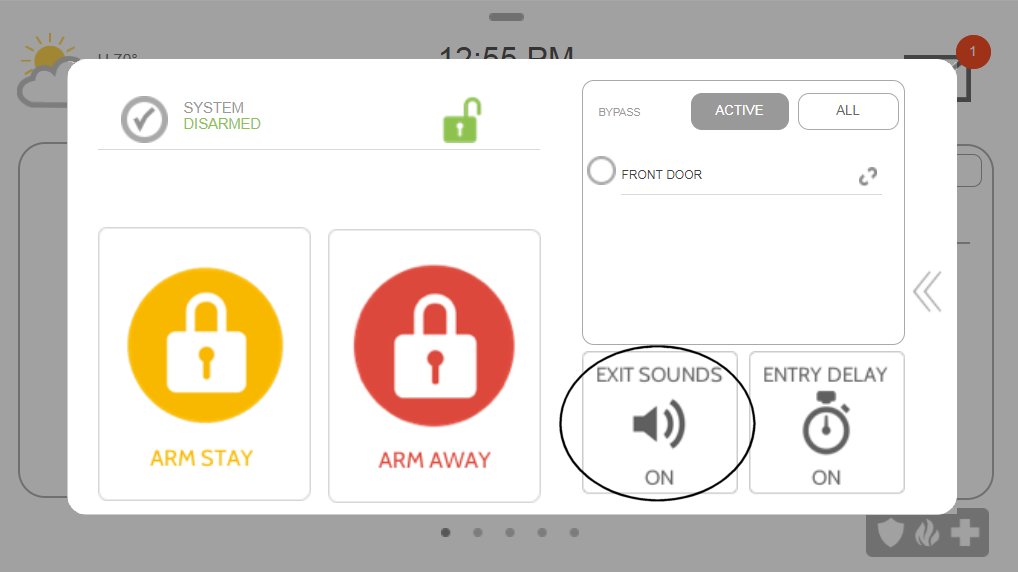
  1. Press Arm (the lock icon), then press More (the double right arrow icon).
  2. Arm_Silent_01.jpg Arm_Silent_02.jpg


  3. Press Exit Sounds to toggle from On to Off, then press Arm Stay or Arm Away.
  4. Arm_Silent_03.jpg Arm_Silent_04.jpg


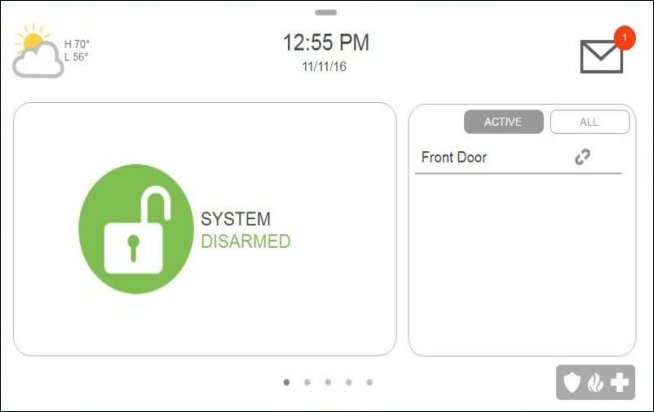
Disarm System: this will disarm your system, and it will silence and reset any active alarm.

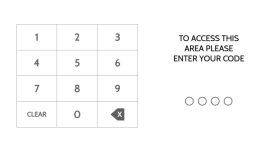
  • • If entering your property that is armed away, simply enter your user code (disarm code/master code) upon re-entry before the time ends.
  • Disarm_02_Enter_Code.jpg Disarm_03_Disarmed.jpg


  • • If your system is armed stay, press the lock icon, then enter your user code.
  • Disarm_01.jpg Disarm_02_Enter_Code.jpg


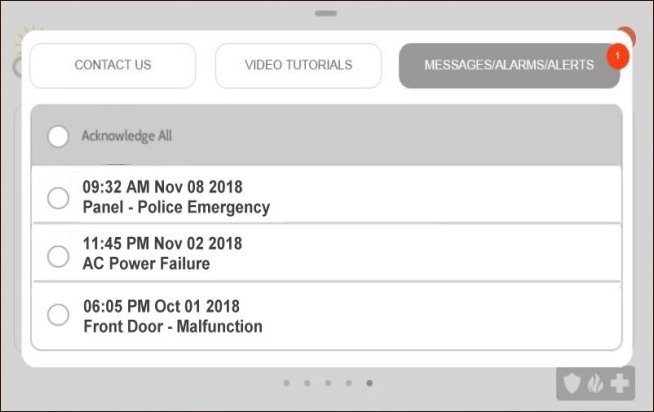
Check Your System Status: checking your system's status will display which sensors are currently open or if any of your sensors are experiencing a trouble condition, such as a low battery.

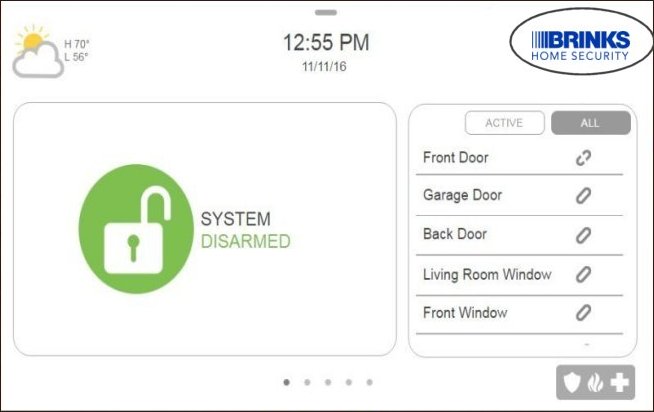
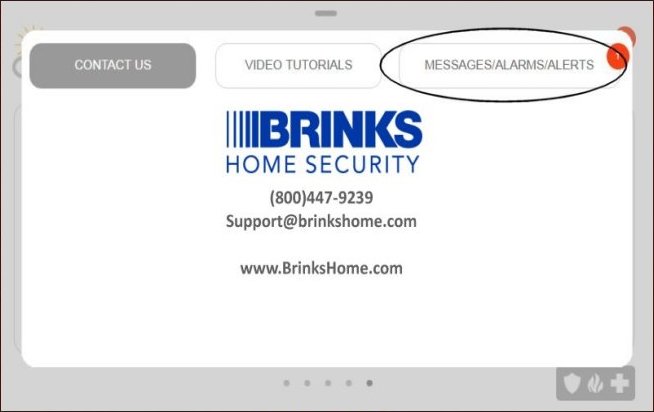
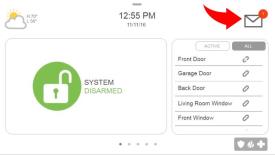
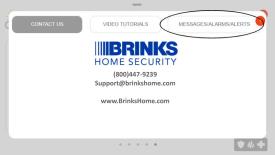
  1. Press the Brinks Home logo at the top right, then press Messages/Alerts/Alarms.
  2. Status_01.jpg Status_02.jpg


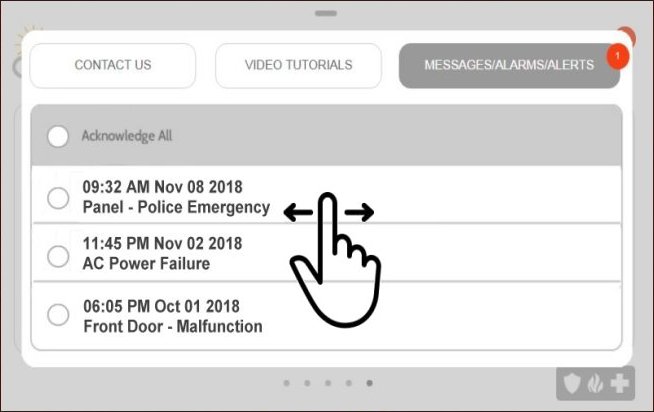
  3. View system status, then swipe left or right to exit.
  4. Status_03.jpg Status_03b.jpg


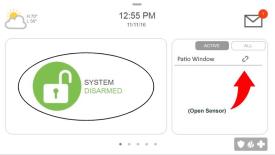
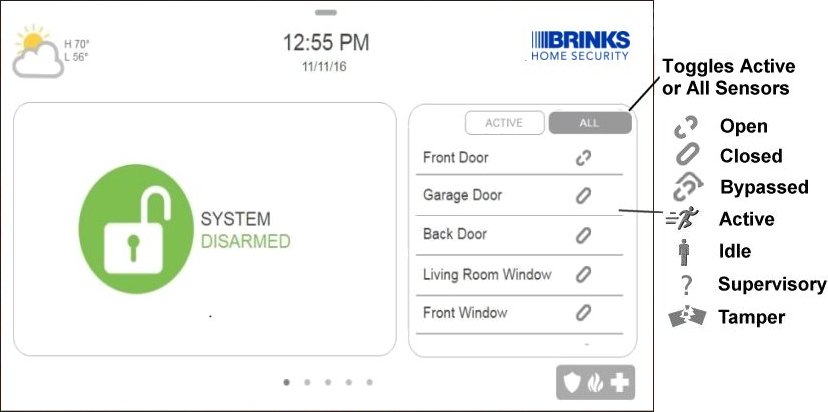
Check Sensor Status: review a list of sensors connected to your system to ensure all are communicating and trouble free.

  • • Sensor status displays on the right side of the home screen.
  • Sensor_Status_01.jpg


Clear Alarm Memory: allows you to acknowledge and clear alarm history.

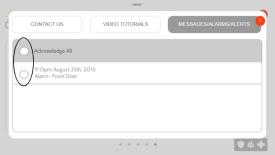
  1. Alarms appear as a red, numbered circle on the messages icon in the top right of the panel screen. Press Messages (the envelope icon), then press Messages and Alerts.
  2. 7.1.1a_Alarm_Memory_01_275x155.jpg 7.1.2a_Alarm_Memory_02_275x155.jpg


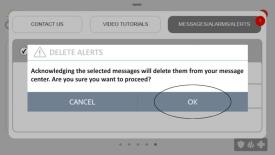
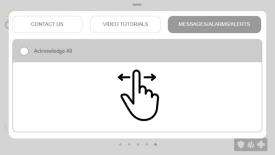
  3. Press each alarm to select, or press Acknowledge All, to select all. Press Ok to delete. Then swipe left or right to exit.
  4. 7.2.1a_Alarm_Memory_03_275x155.jpg 7.2.2a_Alarm_Memory_04_275x155.jpg 7.2.3a_Alarm_Memory_05_275x155.jpg


Change Partition: partitions allow for the creation of zone groups in a home or building so that users can arm sections of the property while leaving other areas disarmed. Partitioning enables greater personalization and functionality while simplifying installation. Each partition controls its local zone status, alerts, and notifications. Any area or zone that needs to be armed or disarmed separately from the rest of the structure can be turned into a partition.

Note: in order to utilize this feature, partitions must be enabled via Settings, Advanced Settings, Installation, Installer Settings, then scroll down to General to Enable.


  1. Enter a user code with access to multiple partitions enabled at the lock screen.
  2. 6.1a_Partition_01_275x155.png


  3. Swipe up or down to access different partitions. When you swipe on a partition-enabled system, you will see the indicator dots on the left change and the named area change.
  4. 6.2a_Partition_Select_01_275x155.png


  5. The specific actions taken (arm/disarm) will only affect the sensors connected with the partition selected. Note the example below shows that the Stockroom area is now armed.
  6. 6.3a_Partition_Select_02_275x155.png


Change Master Code: updates the code which has master access to your system.

  1. Press or swipe down top clock display for Settings Drop-Down, then press Settings.

    Enter_Program_01_Main.jpg Enter_Program_02_Dropdown.jpg


  2. Press Advanced Settings, then enter your current master code.
  3. Enter_Program_03_Settings_Menu.jpg Enter_Program_04_Enter_Code.jpg


  4. Press User Management, then press Edit (the pencil icon) by the row listed as master type.
  5. User_Codes_01.jpg User_Codes_20_Master_Select.jpg


  6. Tap the name field to update name. Press Check or Keypad icon to proceed.

    User_Codes_22a_Master_Name.jpg User_Codes_22b_Master_Name.jpg


  7. Tap on User Code to update with the new master code.
  8. User_Codes_24a_Master_Enter_Code.jpg User_Codes_24b_Master_Enter_Code.jpg


  9. Tap in Confirm User Code, then re-enter your new master code to confirm.
  10. User_Codes_24c_Master_Confirm_Code.jpg User_Codes_25a_Master_Confirm_Code.jpg


  11. Press Save, then press Back or Home to exit.
  12. User_Codes_26_Master_Done.jpg User_Codes_27_Master_Exit.jpg


Lost Master Code: allows you to update your master code in the event that it is lost or forgotten.

  1. Press or swipe down top clock display, then press Settings.
  2. Enter_Program_01_Main.jpg Enter_Program_02_Dropdown.jpg


  3. Press Advanced Settings, then enter the default installer code 1111.
  4. Enter_Program_03_Settings_Menu.jpg Enter_Program_04_Enter_Code.jpg


  5. Tap on User Management, then press Edit (the pencil icon) by the user type with Master listed.
  6. User_Codes_01.jpg User_Codes_20_Master_Select.jpg


  7. Tap in the User Code field, then press Back (left arrow icon) to delete and replace it. Press the check button to continue.
  8. User_Codes_24a_Master_Enter_Code.jpg User_Codes_24b_Master_Enter_Code.jpg


  9. Tap in the Confirm User Code field, then press Back (left arrow icon) to delete and replace it. Press the check button to continue.

    User_Codes_24c_Master_Confirm_Code.jpg User_Codes_25a_Master_Confirm_Code.jpg


  10. Press Save to save and exit.
  11. User_Codes_26_Master_Done.jpg User_Codes_27_Master_Exit.jpg


Delete User Code: remove a profile from the security system to discontinue user access.

  1. Press or swipe down top clock display, then press Settings.
  2. Enter_Program_01_Main.jpg Enter_Program_02_Dropdown.jpg


  3. Press Advanced Settings then enter your Master Code.
  4. Enter_Program_04_Enter_Code.jpg Enter_Program_03_Settings_Menu.jpg


  5. Press User Management, then press Delete (the trash icon) beside the user you wish to delete.
  6. User_Codes_01.jpg User_Codes_Delete_01_Select.jpg


  7. Press OK to confirm, then press Back or Home to exit.
  8. User_Codes_Delete_02_Confirm.jpg User_Codes_Delete_03_Deleted.jpg


Display Brightness: adjust the default brightness of your panel's LCD touchscreen.

  1. Press or swipe down clock display.
  2. Enter_Program_01_Main.jpg

  3. Drag the brightness slider bar left to decrease and right to increase the brightness.
  4. Brightness.png


Voice Enable/Disable: enable or disable the panel's integrated voice.

  1. Press or swipe down the clock display at the top for the menu. Select Settings, then press Advanced Settings.
  2. 10.1.1a_Enter_Program_01_275x155.jpg 10.1.2a_Enter_Program_02_275x155.jpg 10.1.3a_Enter_Program_03_275x155.jpg


  3. Enter your user code, then press Sound. Press the checkbox next to Voices to enable voice or the checkbox next to Sensors to enable a sensor voice chime.
  4. 10.2.1a_Enter_Program_04_275x155.jpg 10.2.2a_Chimes_01_275x155.jpg 10.2.3a_Voice_01_275x155.png


  5. Press Back or Home to exit.
  6. 10.3.1a_Voice_02_275x155.png


Volume Control: adjust the panel's integrated voice.

  • • Press or swipe down clock display then move left or right slider to adjust volume.
  • Enter_Program_01_Main.jpg Volume_Control.png


Chime Volume: adjust the panel's chime volume.

  1. Press or swipe down top clock display, then press Settings.
  2. Enter_Program_01_Main.jpg Enter_Program_02_Dropdown.jpg


  3. Press Advanced Settings, then enter the default installer code 1111.
  4. Enter_Program_03_Settings_Menu.jpg Enter_Program_04_Enter_Code.jpg


  5. Press Sound then tap on the dropdown arrow next to Volume.
  6. Sound_01.png Chimes_Volume_02.jpg


  7. Move the volume sliders left to reduce or right to increase the chime volume. Press Close, then press Back or Home to exit and complete the process.
  8. Chimes_Volume_03.jpg Chimes_Volume_04.jpg


Rebooting the Panel

The IQ4 Hub can be rebooted to address minor issues. Follow the steps below to perform a standard reboot.

  1. From the drop down menu select Settings.
  2. Select Advanced Settings, then enter the default installer code 2222.
  3. Select Panel Reboot.
  4. Wait for the panel to restart.

A hard reboot may result in data corruption and/or panel failure, and should only be used when absolutely necessary. This may be required if the touchscreen becomes unresponsive.

To perform a hard reboot, press and hold the power button on the side of the panel for 30 seconds.

How to Power Cycle the Panel

  1. After attempting shutdown steps, if your panel is still frozen, remove A/C power from the outlet.
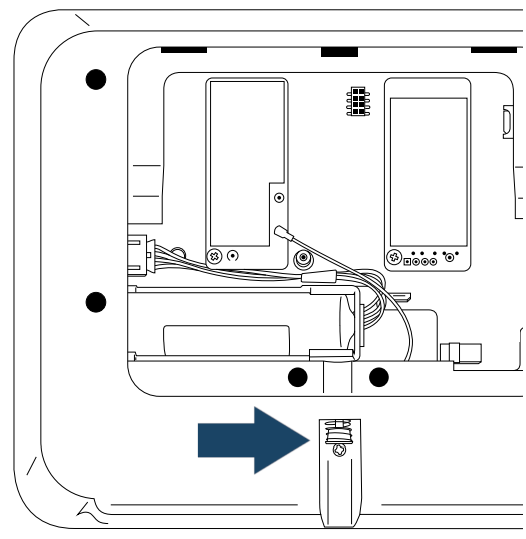
  2. With a small phillips screwdriver, undo the locking screw from the back of the panel and remove the SmartMount backplate.
  3. IQ4 Hub 4-pin Locking Screw


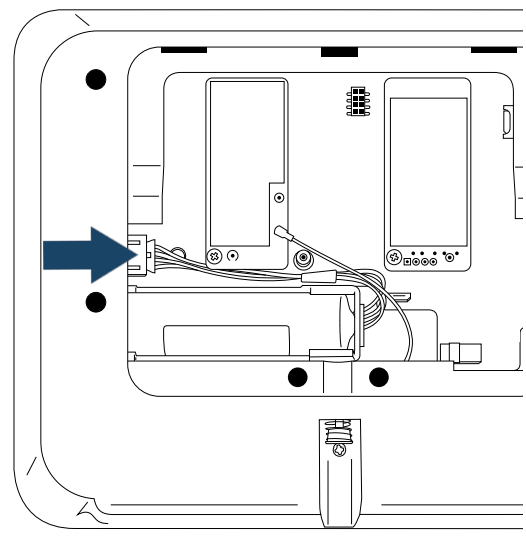
  4. Unplug 4 pin battery connector from the board.
  5. IQ4 Hub 4-pin Battery Connector


  6. Allow several minutes to pass before you reconnect the battery, resecure the panel to the SmartMount, and return A/C power.

If you need further assistance, you can text a Support Representative any time at 469.513.8685.


For additional information relating to your device, click the following link to view the original manufacturer's user guide or installation manual: IQ4 Hub User Manual