How to Program the Honeywell 5800CO to the GC2
Step-by-Step Instructions:
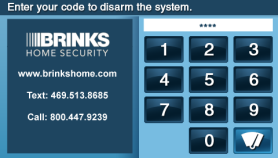
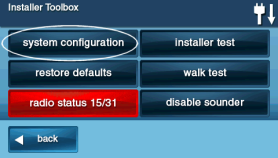
1. Press the bottom right logo, enter the default installer code 1561 or 1171, then press System Configuration.
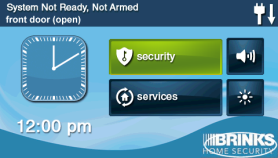
2. Starting at Q1 RF Sensor programming, enter the sensor or press Go To and enter the location.
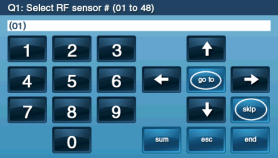
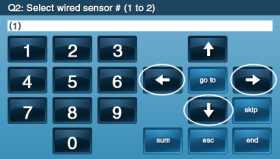
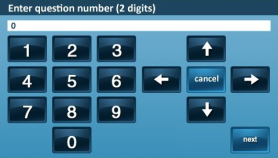
3. Enter sensor 01 to 60, or press the arrow buttons to scroll to sensor 01 to 60. Press the down arrow for the next step.
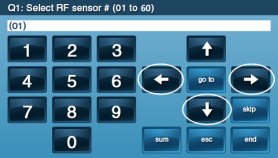
4. Enter 09, or press the arrow buttons to scroll to (14) 24-Hour Carbon Monoxide. Press the down arrow for the next step.
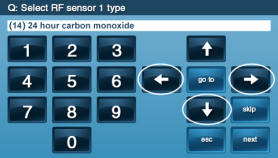
5. Press the arrow buttons to scroll to (0589) 2GIG CO Detector, then press the down arrow to continue to the next step.
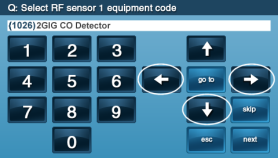
6. Enter the serial number from the sensor sticker, or press Shift then Learn followed by pressing the test button on the sensor or by opening the sensor cover to learn it. Press Ok.
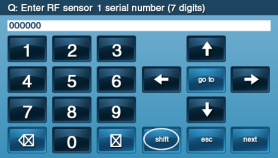
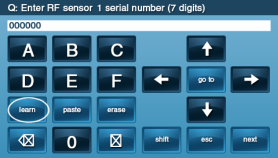
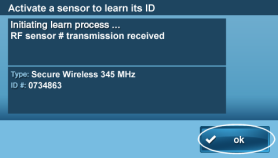
7. Press the down arrow to continue to the next step.
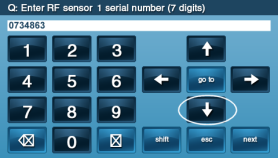
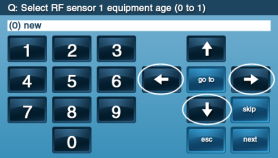
8. Enter 0 or press the arrow buttons to scroll to (0) new, then press the down arrow to continue to the next step.
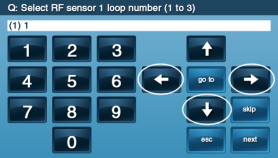
9. Enter Loop 1 or press the arrow buttons to scroll to (1) 1, then press the down arrow to continue to the next step.
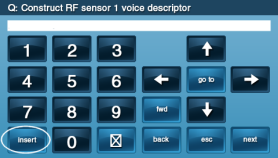
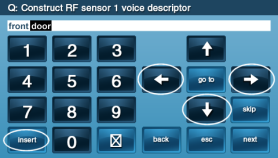
10. Press Insert, then enter the 3-digit word 032 Carbon Monoxide or press the arrow buttons to scroll all words.
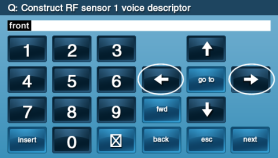
11. Press Insert then enter 3-digits for next word (up to 6 total) or press the down arrow to finish.
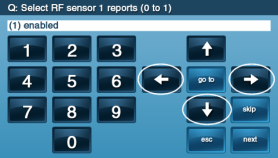
12. Enter 1 or press the arrow buttons to scroll to (1) enabled for central station reports. Press the down arrow to continue to the next step.
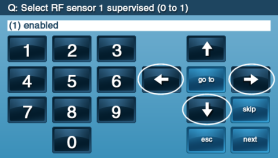
13. Enter 1 or press the arrow buttons to scroll to (1) enabled for sensor supervision, then press the down arrow to continue to the next step.
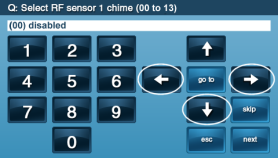
14. Enter 00 or press the arrow buttons to scroll to (00) disabled to disable door chimes, then press the down arrow to continue to the next step.
15. Press Edit Next to add any additional sensors, or press End then Exit to complete.
