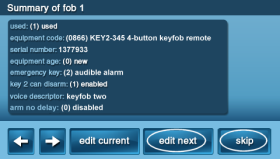
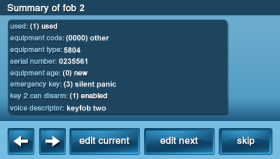
How to Program the 2GIG-KEY-345 to the GC2 Panel
Step-by-Step Instructions:
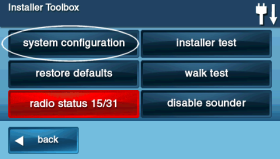
1. Press the Brinks Home logo in the bottom right of the panel, enter the default installer code 1561, then press System Configuration to go to Q1 Wireless Sensor Programming.
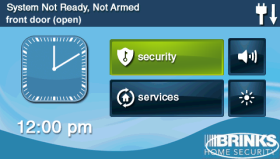
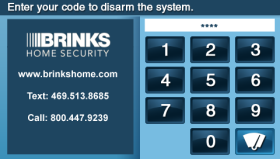
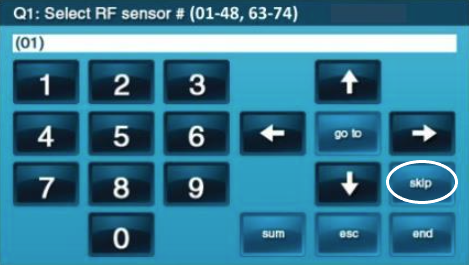
2. Press Skip two times, bringing you to the Q3: Select fob # (1 to 8) menu, then enter keyfob 1 to 8. Press the down arrow for the next step.
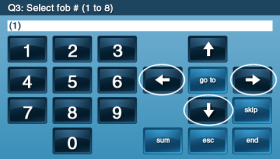
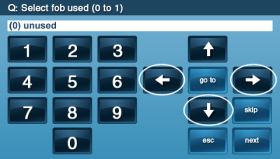
3. Enter 1 or use the arrows to select 1 to enable the keyfob, then press the down arrow.
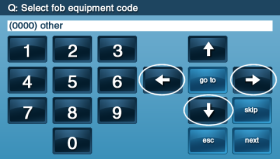
4. Press the left or right arrow buttons to scroll until you get to equipment code 122 keyfob, then press the down arrow.
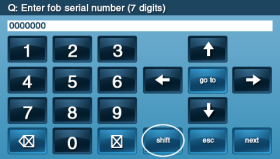
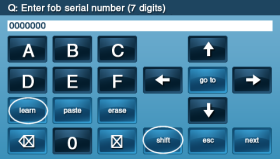
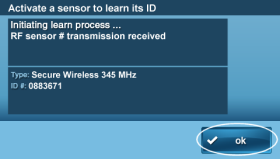
5. Enter the serial number from the keyfob sticker. Otherwise, to auto-learn the keyfob, press Shift, press Learn, then press any button on the keyfob. Press Ok.
6. Press the down arrow for the next step.
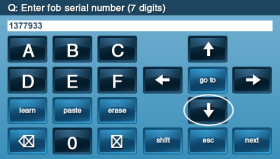
7. Enter 0 to add a new keyfob. Enter 1 if it is an existing keyfob, or press the left or right arrow buttons to select. Press the down arrow for the next step.
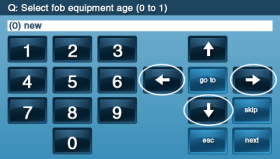
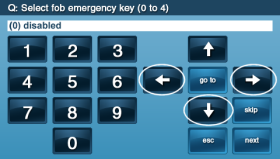
8. Enter the panic type between 0 to 4, or press the left or right arrow buttons to select. Press the down arrow for the next step.
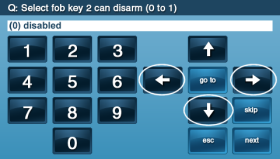
9. Enter 0 to disable, or enter 1 to enable the disarm button. Otherwise, press the left or right arrow buttons to select, then press the down arrow for the next step.
10. Press Insert, then enter the 3-digit word or press the left or right arrow buttons to scroll all words.
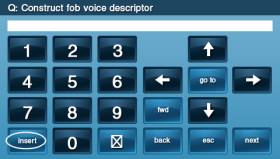
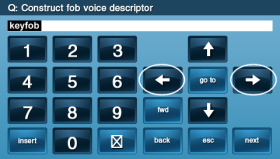
11. Press Insert, then enter next 3-digit word or press the left or right arrow buttons to scroll all words. Press the down arrow for the next step.
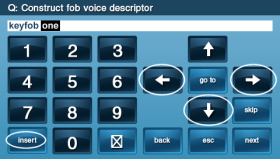
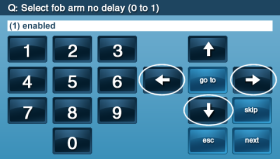
12. Enter 0 to disable or 1 to enable arming with no delay, or press the left or right arrow buttons to select. Press the down arrow for the next step.
13. Enter 0, 1 or 2 to select the star button type, or press left or right arrow buttons to select. Press the down arrow for the next step.
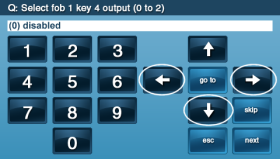
14. Press Edit Next for any additional keyfobs, or press Skip to go to Q4 Keypad Programming.
